")


When my brother-in-law got his first EV, he plugged it into a regular wall outlet in his garage, did the math, and realized it would take almost 14 hours to fully charge from near-empty. He called me in a slight panic thinking something was broken. Nothing was broken — he just hadn’t set up proper home charging yet, like most first-time EV owners.
If you’re about to go through this (or just did), here’s everything I’d tell a friend, based on what I’ve learned helping a few people through this exact process.
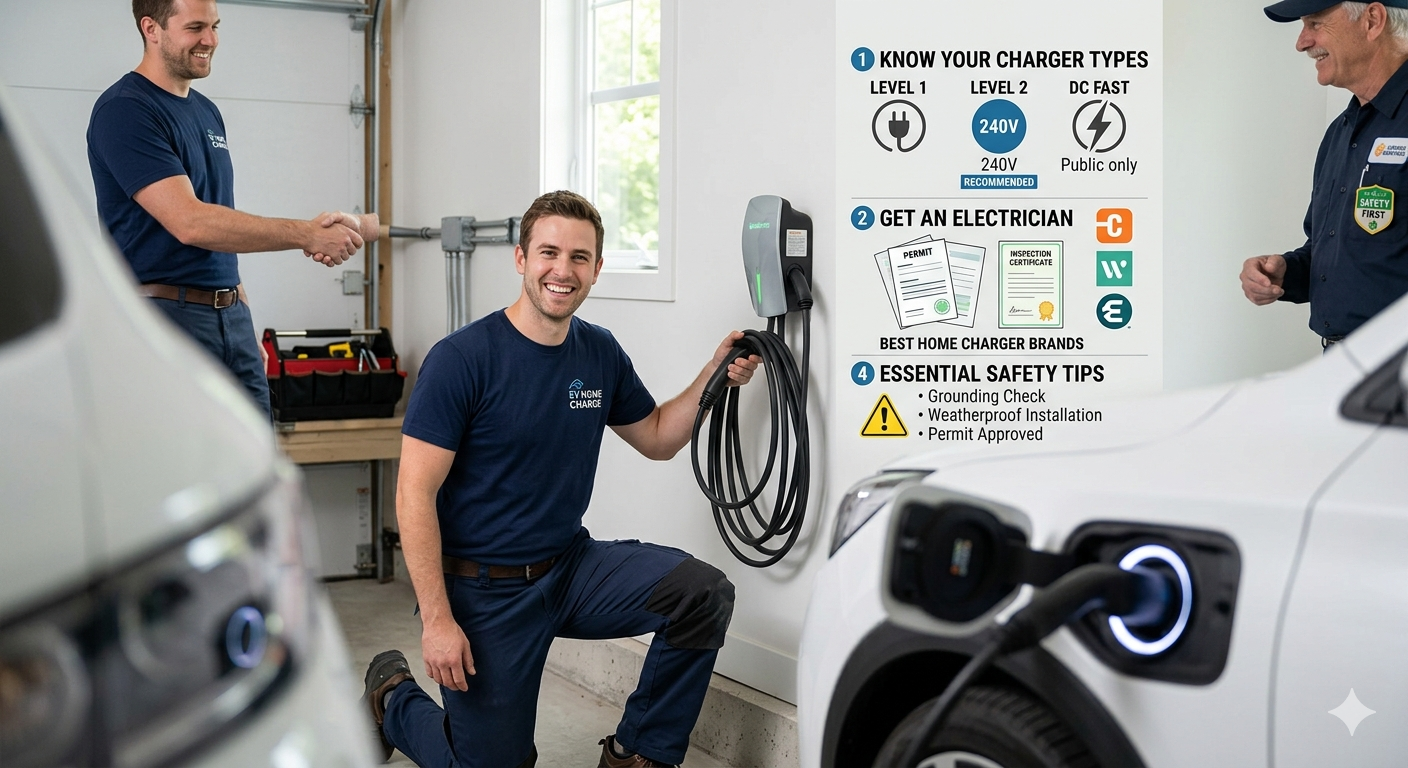
First, understand the three charging levels — because the terminology gets confusing fast
Level 1 is just plugging into a standard household outlet (120V in North America, similar low-voltage outlets elsewhere). No special equipment needed beyond the cable that comes with your car. This is what my brother-in-law was using. It works, technically — but it’s slow. We’re talking 3-5 miles of range per hour of charging. If you only drive 20-30 miles a day and can leave the car plugged in overnight, it might actually be enough. For most people, though, it’s a backup option, not a primary solution.
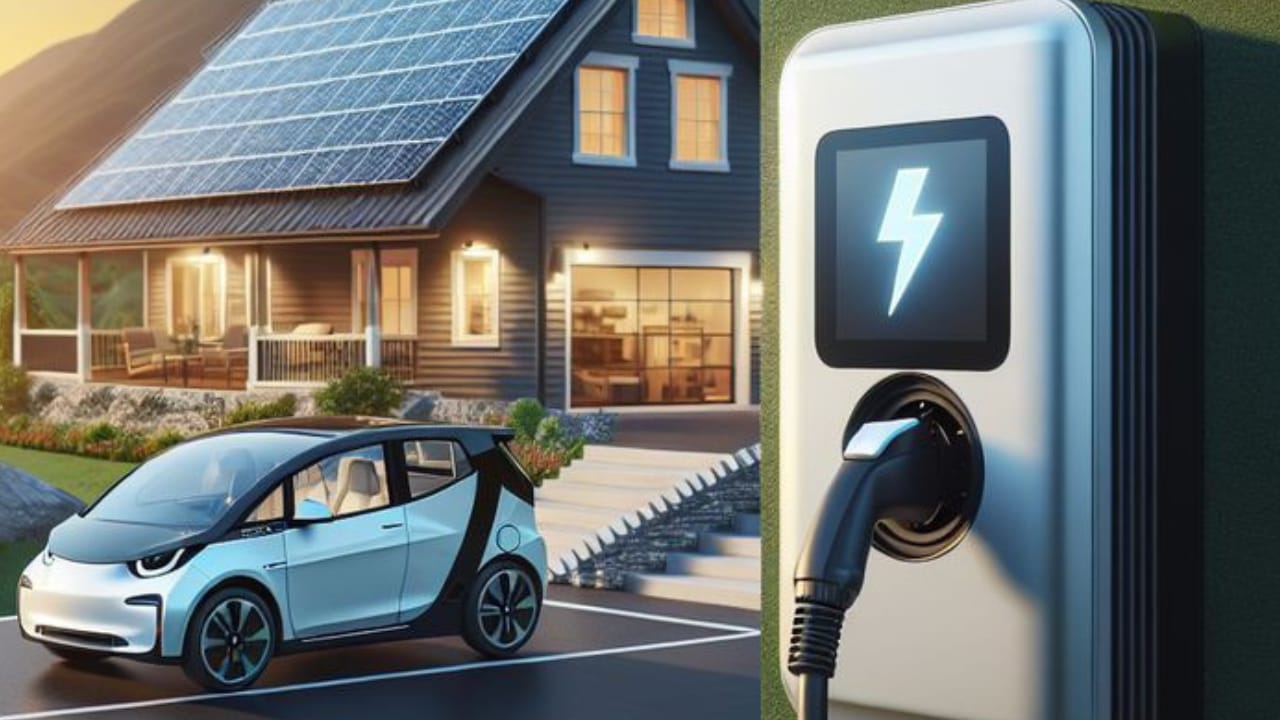
Level 2 is the home charging setup most EV owners end up with. It runs on 240V (the same type of circuit as an electric dryer or oven) and delivers roughly 20-40 miles of range per hour, depending on your car and the charger’s power output. This is what turns “all night to charge” into “a few hours.”
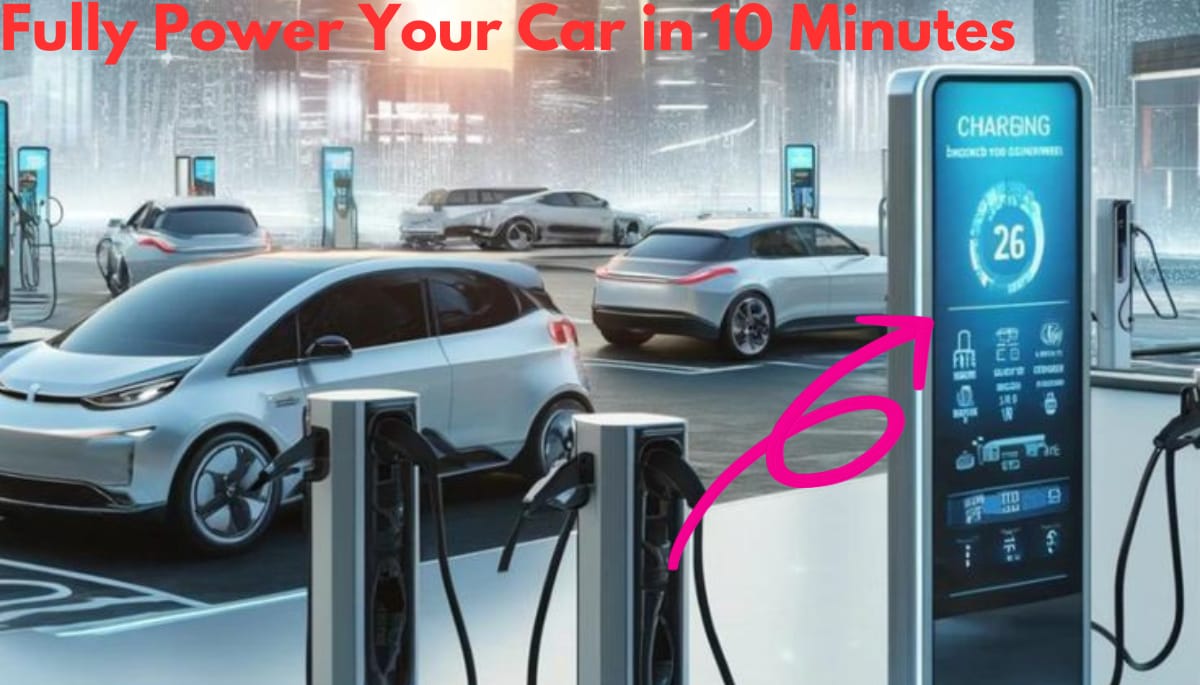
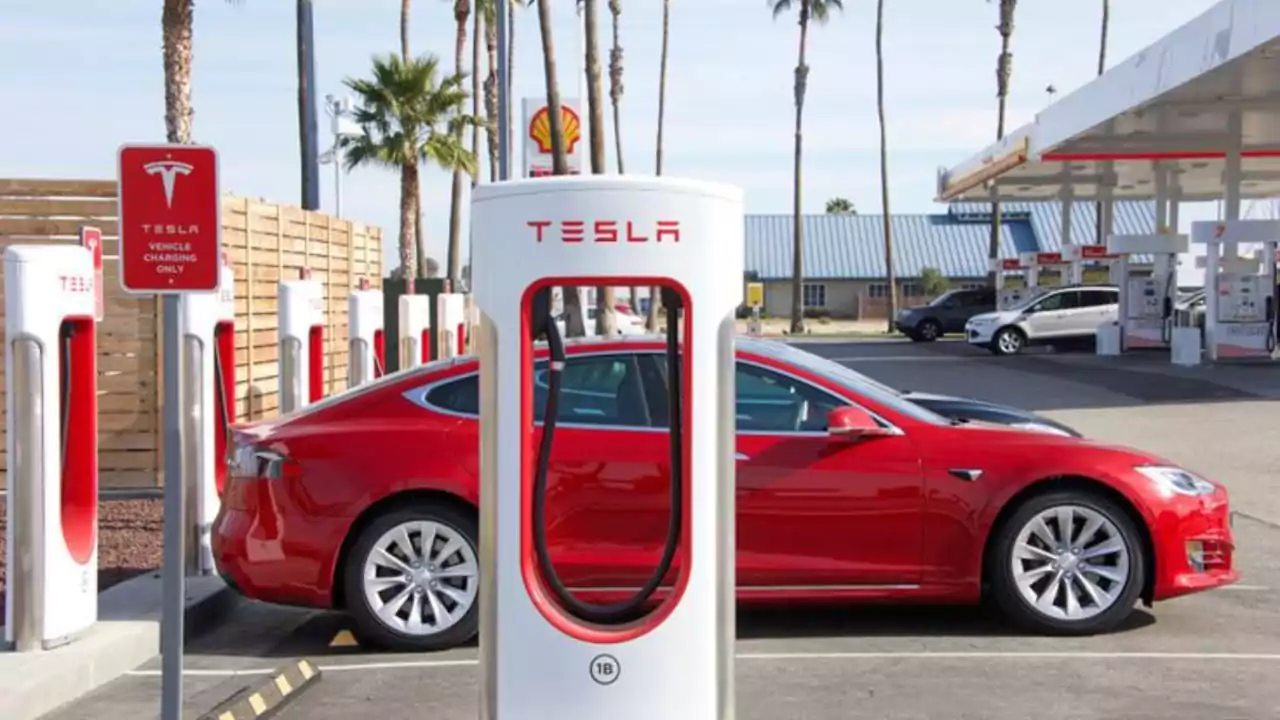
DC Fast Charging is the high-power charging you see at public charging stations along highways — it can add 100+ miles in 20-30 minutes. You generally can’t install this at home; it requires industrial-level electrical infrastructure and is mainly for public charging networks.
For home charging, you’re almost certainly looking at Level 2. That’s the focus of this guide.
Step 1: Get your electrical panel checked — before you buy anything
This is the step people skip, and it’s the one that causes the most headaches later.
A Level 2 charger typically needs a dedicated 240V circuit, usually rated at 40A or higher (most chargers recommend a 50A circuit for full output, though some run on 30-40A circuits at reduced speed). Your home’s electrical panel needs to have both the physical space for a new circuit breaker and enough overall capacity to handle the additional load.
Call a licensed electrician for an assessment before you buy a charger. They’ll check:
- Whether your panel has open breaker slots
- Whether your panel’s total amperage rating can handle the addition without overloading
- The distance from your panel to where you want the charger installed (this affects wiring cost significantly)
If your panel is older or already near capacity (common in older homes), you might need a panel upgrade first. This is exactly what happened to a friend of mine — his electrician found his panel was outdated, and that upgrade alone added a few thousand dollars to his total cost before he’d even bought a charger.
Step 2: Choose your charger — here’s what actually matters
There are dozens of Level 2 home chargers on the market, and honestly, most of the well-known brands perform similarly in terms of core charging function. Here’s what I’d actually compare:
Power output: Chargers are rated in kW, commonly ranging from 7.7 kW to 11.5 kW for home use (some go higher, but your car’s onboard charger has a max acceptance rate too — there’s no benefit to a charger more powerful than your car can use).
Plug-in vs. hardwired: Plug-in units connect to a matching outlet (like a NEMA 14-50), making them easier to move or replace later. Hardwired units connect directly to your electrical system — generally considered more weatherproof for outdoor installs and slightly more efficient, but less flexible if you move or want to upgrade later.
Smart features: Many chargers now include WiFi connectivity, scheduling (so you can charge during off-peak electricity hours), and energy usage tracking through a companion app. If your electricity provider has time-of-use rates, this feature alone can meaningfully reduce your charging costs.
Cable length: Sounds trivial, but matters a lot depending on where your charger is mounted relative to where you park. A 25-foot cable gives you much more flexibility than an 18-foot one if your charging port isn’t on the side of the car closest to the wall.
Indoor vs. outdoor rated: If you’re mounting it outside or in an unenclosed carport, make sure the unit is rated for outdoor weather exposure (look for an appropriate IP rating).
Some well-known names in the home charger space include ChargePoint, Wallbox, Tesla’s Wall Connector (which now supports non-Tesla vehicles with the right adapter in many regions), Grizzl-E, and Emporia. I’d recommend reading recent reviews for whichever models are available in your country, since availability and pricing shift regularly.
Step 3: Get quotes — and ask the right questions
Don’t just get a price for the charger itself. Ask your electrician for a full breakdown:
- Cost of the charger unit
- Labor for running new wiring from the panel to the charger location
- Cost of the new circuit breaker
- Any permit fees required by your local authority (many areas require an electrical permit for new circuits)
- Panel upgrade costs, if needed (ask this explicitly — don’t assume it’s included)
Get at least two quotes if you can. Installation costs can vary significantly based on the distance between your panel and garage/driveway, and some electricians price this very differently.
Step 4: Installation day — what to expect
A straightforward installation (panel has capacity, charger location is close to the panel) typically takes a few hours. If new wiring needs to be run a longer distance, or through finished walls, it can take a full day or more.
After installation, your electrician should:
- Test the circuit under load
- Confirm the charger communicates properly with your vehicle (do a test charge)
- Walk you through any companion app setup if the unit has smart features
If your area requires a permit, there may also be a follow-up inspection — don’t skip this step even if it feels like extra hassle. It’s there to confirm the work meets electrical code, which matters both for safety and for any future home insurance or resale considerations.
Step 5: Set up smart charging (if your charger supports it)
This step is easy to skip but genuinely saves money over time. If you have time-of-use electricity rates (cheaper rates overnight or during off-peak hours), set your charger or your car’s app to start charging automatically during those windows.
Most EV companion apps (and many charger apps) let you schedule charging start times. Set it once, and you’ll consistently charge during the cheapest electricity hours without having to think about it.
Safety tips that are easy to overlook
Don’t use extension cords with Level 1 or Level 2 charging. EV charging draws sustained high current for hours, and extension cords — even heavy-duty ones — aren’t designed for that kind of continuous load. This is a real fire risk, not just a theoretical one.
Don’t DIY the electrical work, even if you’re handy. This isn’t a “save money on a weekend project” situation. Improper installation of a high-current circuit is a genuine safety hazard, and most home insurance policies won’t cover damage from unlicensed electrical work.
Check for recalls periodically. Like any electrical device, home chargers occasionally get recalled for component issues. It’s worth a quick search on your charger brand’s name plus “recall” every so often.
Keep the charging area clear and dry. Obvious, but worth saying — don’t let the charger or cable sit in standing water, and keep the area around it clear of clutter that could be a trip hazard or fire risk.
Common mistakes I’ve seen people make
Buying the charger before getting the electrical assessment. This leads to either buying the wrong power-rated unit for your panel’s capacity, or discovering after purchase that you need a panel upgrade you didn’t budget for.
Underestimating installation costs because they only priced the charger itself. The unit is often the smaller part of the total cost — labor, wiring, and any panel work usually make up the bigger chunk.
Mounting the charger somewhere inconvenient just because it was easier to wire. Think about where you actually park and which side your charging port is on before finalizing the location — a charger mounted on the wrong side of the garage with a too-short cable is a daily annoyance.
Not checking for installation rebates. Some utility companies and local governments offer rebates specifically for home EV charger installation. This is worth checking before you finalize anything, since it could meaningfully offset your costs.
Final thoughts
Setting up home charging is genuinely one of those things that feels more complicated before you do it than during it. The actual process — assessment, quote, installation — usually takes a couple of weeks from start to finish, and once it’s done, charging becomes a complete non-event. You plug in when you get home, and your car is ready every morning. No more wondering if you’ll make it to a charging station, no more 14-hour charging sessions on a regular wall outlet.
If there’s one piece of advice I’d want every new EV owner to hear, it’s this: get the electrical assessment first, before you fall in love with a specific charger model. Everything else falls into place a lot more smoothly once you know what your home can actually support.